# 支持环境
- 浏览器:IE 11、Firefox87、Chrome 66/85-90
- 操作系统:Windows 7 、8、10 、2008 Server、CentOS 7+
- Java虚拟机:Open JDK 1.8 \ Oracle JDK 1.8
- 数据库:MySQL 5.6+ ,oracle 12.1.0.2.0 , postgre 10.1,神通7.0
# 安装前提
- 基础环境安装配置完毕,本文档环境为:
- Window 10 + JDK 8
- Linux CentOS 7.4.1708
- 数据库安装配置完毕,本文档使用的数据库为MySQL 5.7.2
# 部署架构说明

# 介质说明
| 介质名 | 说明 |
|---|---|
| AFCenter_WEB+DEMO_UI_8.2LA2.tar.gz | AFCenterUI+Object_Demo_UI |
| AFCenter_Business_Object_Demo_Server_8.2LA2.tar.gz | Object_Demo服务 |
# Object_Demo服务部署
# 1、解压介质
- Windows可使用WinRAR,等常用压缩软件进行解压。
- Linux将AFCenter_Business_Object_Demo_Server_8.2LA2.tar.gz上传至对应的后端服务器位置进行解压。
unzip AFCenter_Business_Object_Demo_Server_8.2LA2.tar.gz
# 2、初始化数据库
初始化数据库:数据库脚本在部署包的/db-scripts和/eos-db-scripts目录下,/db-scripts目录下脚本为afcenter中的sql脚本以及业务对象demo脚本,/eos-db-scripts目录下为eos项目脚本,可单独运行前三个脚本文件,也可直接运行all.sql导入eos项目脚本。
# 3、修改配置
配置修改Windows与Linux相同
1.解压后进入AFCenter_Business_Object_Demo_Server_8.2LA2\config文件夹,打开application.properties文件,修改缓存配置redis的ip、端口、以及密码即可
server.port=28082

server.servlet.context-path=/pro

spring.application.name=EOS8-DEMO-APP

#spring.profiles.active=eureka
spring.profiles.active=nacos

management.endpoints.web.exposure.include=hystrix.stream,health,info,loggers,eos

out.config.folder=config
is.global.unique=false
bps.application.name=BPS-SERVER-STANDALONE
bps.tenant.id=BPS_DEFAULT_TENANT
engine.show.log=false

eos.cache.mode=redis

#sessionRedis
#spring.session.store-type=redis
#spring.session.redis.namespace=afcSession
spring.redis.host=127.0.0.1
spring.redis.port=6379
spring.redis.password=

#spring.session.store-type=redis
#spring.session.redis.namespace=ZZ,DEMO-PROVIDER01,default
#spring.main.allow-bean-definition-overriding=true

spring.redis.lettuce.pool.max-active=100
spring.redis.lettuce.pool.max-idle=100
spring.redis.lettuce.pool.max-wait=5000

afc.application.name=127.0.0.1:8081/afc
afc.application.tenant=sys_tenant
afc.application.appCode=Coframe
afc.application.appSecret=9731945cdf954bff899e55fef3263506

eos.application.sys-code=EOS-DEMO-SYS
eos.application.sys-key=dc6baaed30e541d78bb91274803d9432
eos.admin.port=6500

hystrix.command.default.execution.isolation.thread.timeoutInMilliseconds=10000
hystrix.threadpool.default.coreSize=100
hystrix.threadpool.default.maximumSize=100
hystrix.threadpool.default.maxQueueSize=100000
hystrix.threadpool.default.queueSizeRejectionThreshold=100000

# operation-logs to history
afc.schedule.logs-to-history.cron=0 0 4 1 1/1 ?
afc.schedule.logs-to-history.stay-month-number=2
2.打开application-nacos.properties文件,修改nacos地址与端口即可
spring.cloud.nacos.discovery.enabled=true
spring.cloud.nacos.discovery.server-addr=127.0.0.1:8848

eureka.client.enabled=false
3.打开bootstrap.properties文件,修改nacos地址与端口即可
# nacos-addr
spring.cloud.nacos.config.enabled=true
spring.cloud.nacos.config.server-addr=127.0.0.1:8848
4.进入AFCenter_Business_Object_Demo_Server_8.2LA2\config\EOS8-DEMO-APP\config文件夹,打开user-config.xml文件,修改数据库配置保存即可。
<group name="default">
            <configValue key="Database-Type">MySql</configValue>
            <configValue key="Jdbc-Type"/>
            <configValue key="C3p0-DriverClass">com.mysql.jdbc.Driver</configValue>
            <configValue key="C3p0-Url">jdbc:mysql://10.15.15.196:3306/oacenter</configValue>
            <configValue key="C3p0-UserName">root</configValue>
            <configValue key="C3p0-Password">primeton4cloud</configValue>
            <configValue key="C3p0-PoolSize">10</configValue>
            <configValue key="C3p0-MaxPoolSize">50</configValue>
            <configValue key="C3p0-MinPoolSize">10</configValue>
            <!-- //seconds, 0 means connections never expire -->
            <configValue key="C3p0-MaxIdleTime">600</configValue>
            <!-- //idle connections never tested -->
            <configValue key="C3p0-IdleConnectionTestPeriod">900</configValue>
            <configValue key="C3p0-MaxStatements">0</configValue>
            <configValue key="C3p0-NumHelperThreads">1</configValue>

            <configValue key="Transaction-Isolation">ISOLATION_DEFAULT</configValue>
            <configValue key="Test-Connect-Sql">SELECT count(*) from EOS_UNIQUE_TABLE</configValue>
            <configValue key="Retry-Connect-Count">-1</configValue>
        </group>
# 4、启动服务
- 1.Windows下启动服务 打开解压后的文件中的bin文件夹,检查配置没有问题后,双击startup.bat即可启动服务. (如需关闭服务,可以双击bin文件夹下shutdown.bat,也可以点击右上角小窗口关闭按钮)
- 2.Linux下启动服务 打开解压后的文件中的bin文件夹,执行如下命令,第一次启动,需要给文件加可执行权限
chmod +x ./startup.sh
chmod +x ./shutdown.sh
nohup ./startup.sh >/dev/null 2>&1 &
如需关闭,在bin目录下执行如下命令即可
./shutdown.sh
# AFCenterUI+Object_Demo_UI前端工程部署
- 1.1 Windows可使用WinRAR,等常用压缩软件进行解压。
- 1.2 Linux将AFCenter_Business_Object_Demo_Server_8.2LA2.tar.gz上传至对应的前端服务器位置进行解压。
unzip AFCenter_Business_Object_Demo_Server_8.2LA2.tar.gz
# 2、Nginx配置
{ObjectDemoServer}、{ObjectDemoPort}为Object_Demo的服务地址和端口
server {
     listen       9009;
     proxy_set_header Host $host;
     proxy_set_header X-Real-IP $remote_addr;
     proxy_set_header X-Real-Port $remote_port;
     proxy_set_header REMOTE-HOST $remote_addr;
     proxy_set_header X-Forwarded-For $proxy_add_x_forwarded_for;
     location / {
            #AFCenter_WEB+DEMO_UI静态资源的路径
            root   /usr/local/src/afcenter/dist;
            index  index.html index.htm;
            try_files $uri /index.html;
        }
        #{ObjectDemoServer}、{ObjectDemoPort}为Object_Demo的服务地址和端口
        location /afc/pro{
              proxy_pass http://{ObjectDemoServer}:{ObjectDemoPort}/pro;
        }
        location /api{
                proxy_pass http://{ObjectDemoServer}:{ObjectDemoPort}/pro/api;
        }
        location /afc{
                proxy_pass http://{ObjectDemoServer}:{ObjectDemoPort}/pro;
        }
    }
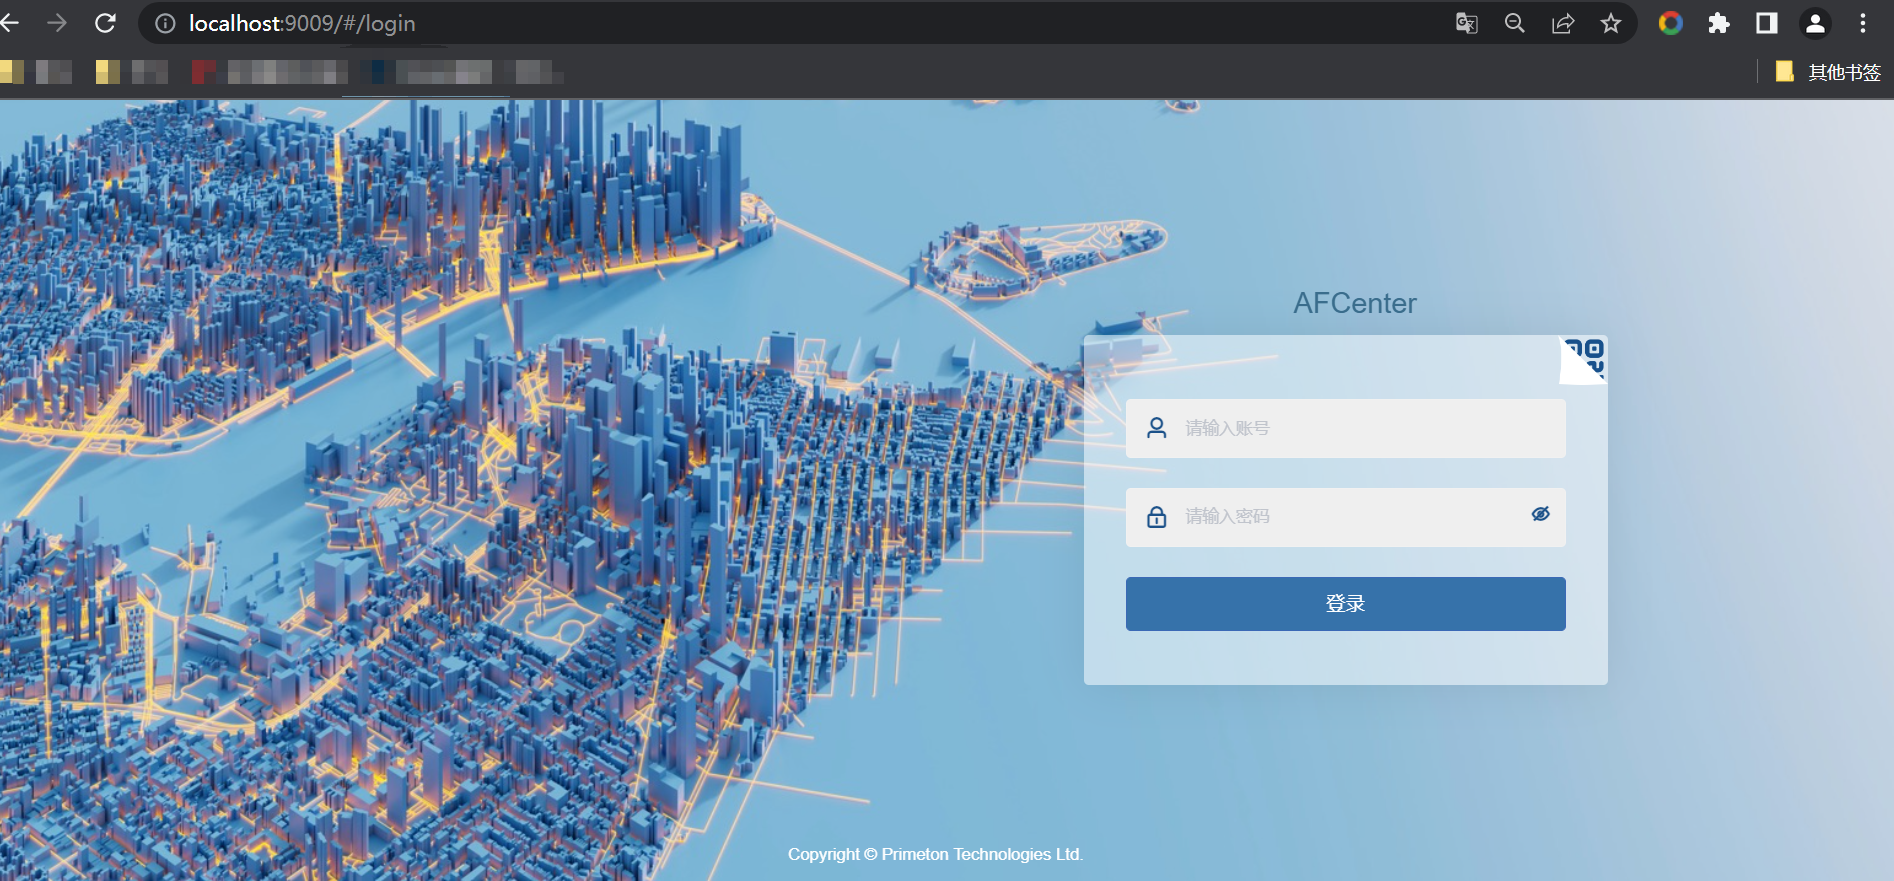
# 3、验证测试
访问配置的Nginx服务的代理地址,即可看到AFCenter登录页面(例如: http://yourhost:9009 (opens new window))
输入用户名,密码登录进去后,可以显示到项目管理菜单我的项目微应用列表