
# 元数据 7.5GA 集成 DAMP 步骤说明
# 1.修改元数据 server 中的 applicatian.yml 文件
文件位置:dgs/server/conf/applicaiton.yml
# a) 修改 redis 相关信息,与 damp 保持一致
...
redis:
    ## 和DAMP配置保持一致
    host: 127.0.0.1
    ## 和DAMP配置保持一致
    port: 6379
    ## 如果有密码的话可以改
    password: null
...
# b) 修改 afc 配置信息
...
afc:
  app_code: EOS-DEMO-SYS
  enable: true
  login_url: http://127.0.0.1:83
...
app_code:eos 应用系统编码,默认是 EOS-DEMO-SYS,如果在 governor 中配置则需要修改,否则不需要。和 DAMP 中 eos.application.sys-code 保持一致。
enable:是否启用,需要设置为 true,如果是 false 会提示“Token 不合法”;
login_url:跳转登录地址,默认设置为 afcenter 登录地址。如果是调试期间,可以设置为元数据登录页,浏览器开启无痕模式可以访问元数据系统。
# 2.配置 nginx 代理,保证元数据与 Afcenter 共用一个 nginx;
# a) 元数据配置代理如下
#元数据
server {
    listen 83;
    proxy_buffer_size 128k;
    proxy_buffers 32 128k;
    proxy_busy_buffers_size 128k;
    proxy_set_header Host $host;
    proxy_set_header X-Real-IP $remote_addr;
    proxy_set_header X-Real-Port $remote_port;
    proxy_set_header REMOTE-HOST $remote_addr;
    proxy_set_header X-Forwarded-For $proxy_add_x_forwarded_for;

    location / {
        root /home/primeton/web/meta;
        index index.html index.htm;
        try_files $uri /index.html;
    }
    location /dgs {
        charset utf-8;
        proxy_pass http://172.50.1.194:28079;
    }
}
# b) damp 集成配置如下
upstream eosgateway {
    server 127.0.0.1:9090;
}

#EOS afcenter by gateway
server {
    listen 80;
    #client_body_buffer_size 10m;  #缓存区大小
    client_max_body_size 100m;

    #元数据集成配置,访问元数据前端页面,和元数据配置端口保持一致。
    location /fd_dgs/ {
        proxy_pass http://127.0.0.1:83/ ;
    }

    #元数据集成配置,访问dgs后端接口,nginx配置优先级需要高于api。
    location ^~ /dgs {
        charset utf-8;
        proxy_pass http://127.0.0.1:28079;
    }

    location ~ /(.*)/api/ {
        proxy_set_header X-EOS-SourceSysKey dc6baaed30e541d78bb91274803d9432;
        proxy_pass http://eosgateway;
    }

    location ~ \.biz\.ext$ {
        proxy_set_header X-EOS-SourceSysKey dc6baaed30e541d78bb91274803d9432;
        proxy_pass http://eosgateway;
    }

    location / {
        root "/opt/primeton/web/afcenter";
        access_log /opt/primeton/web/logs/access.log ;
        error_log /opt/primeton/web/logs/error.log warn;
        index  index.html index.htm;
        try_files $uri /index.html;
    }
}
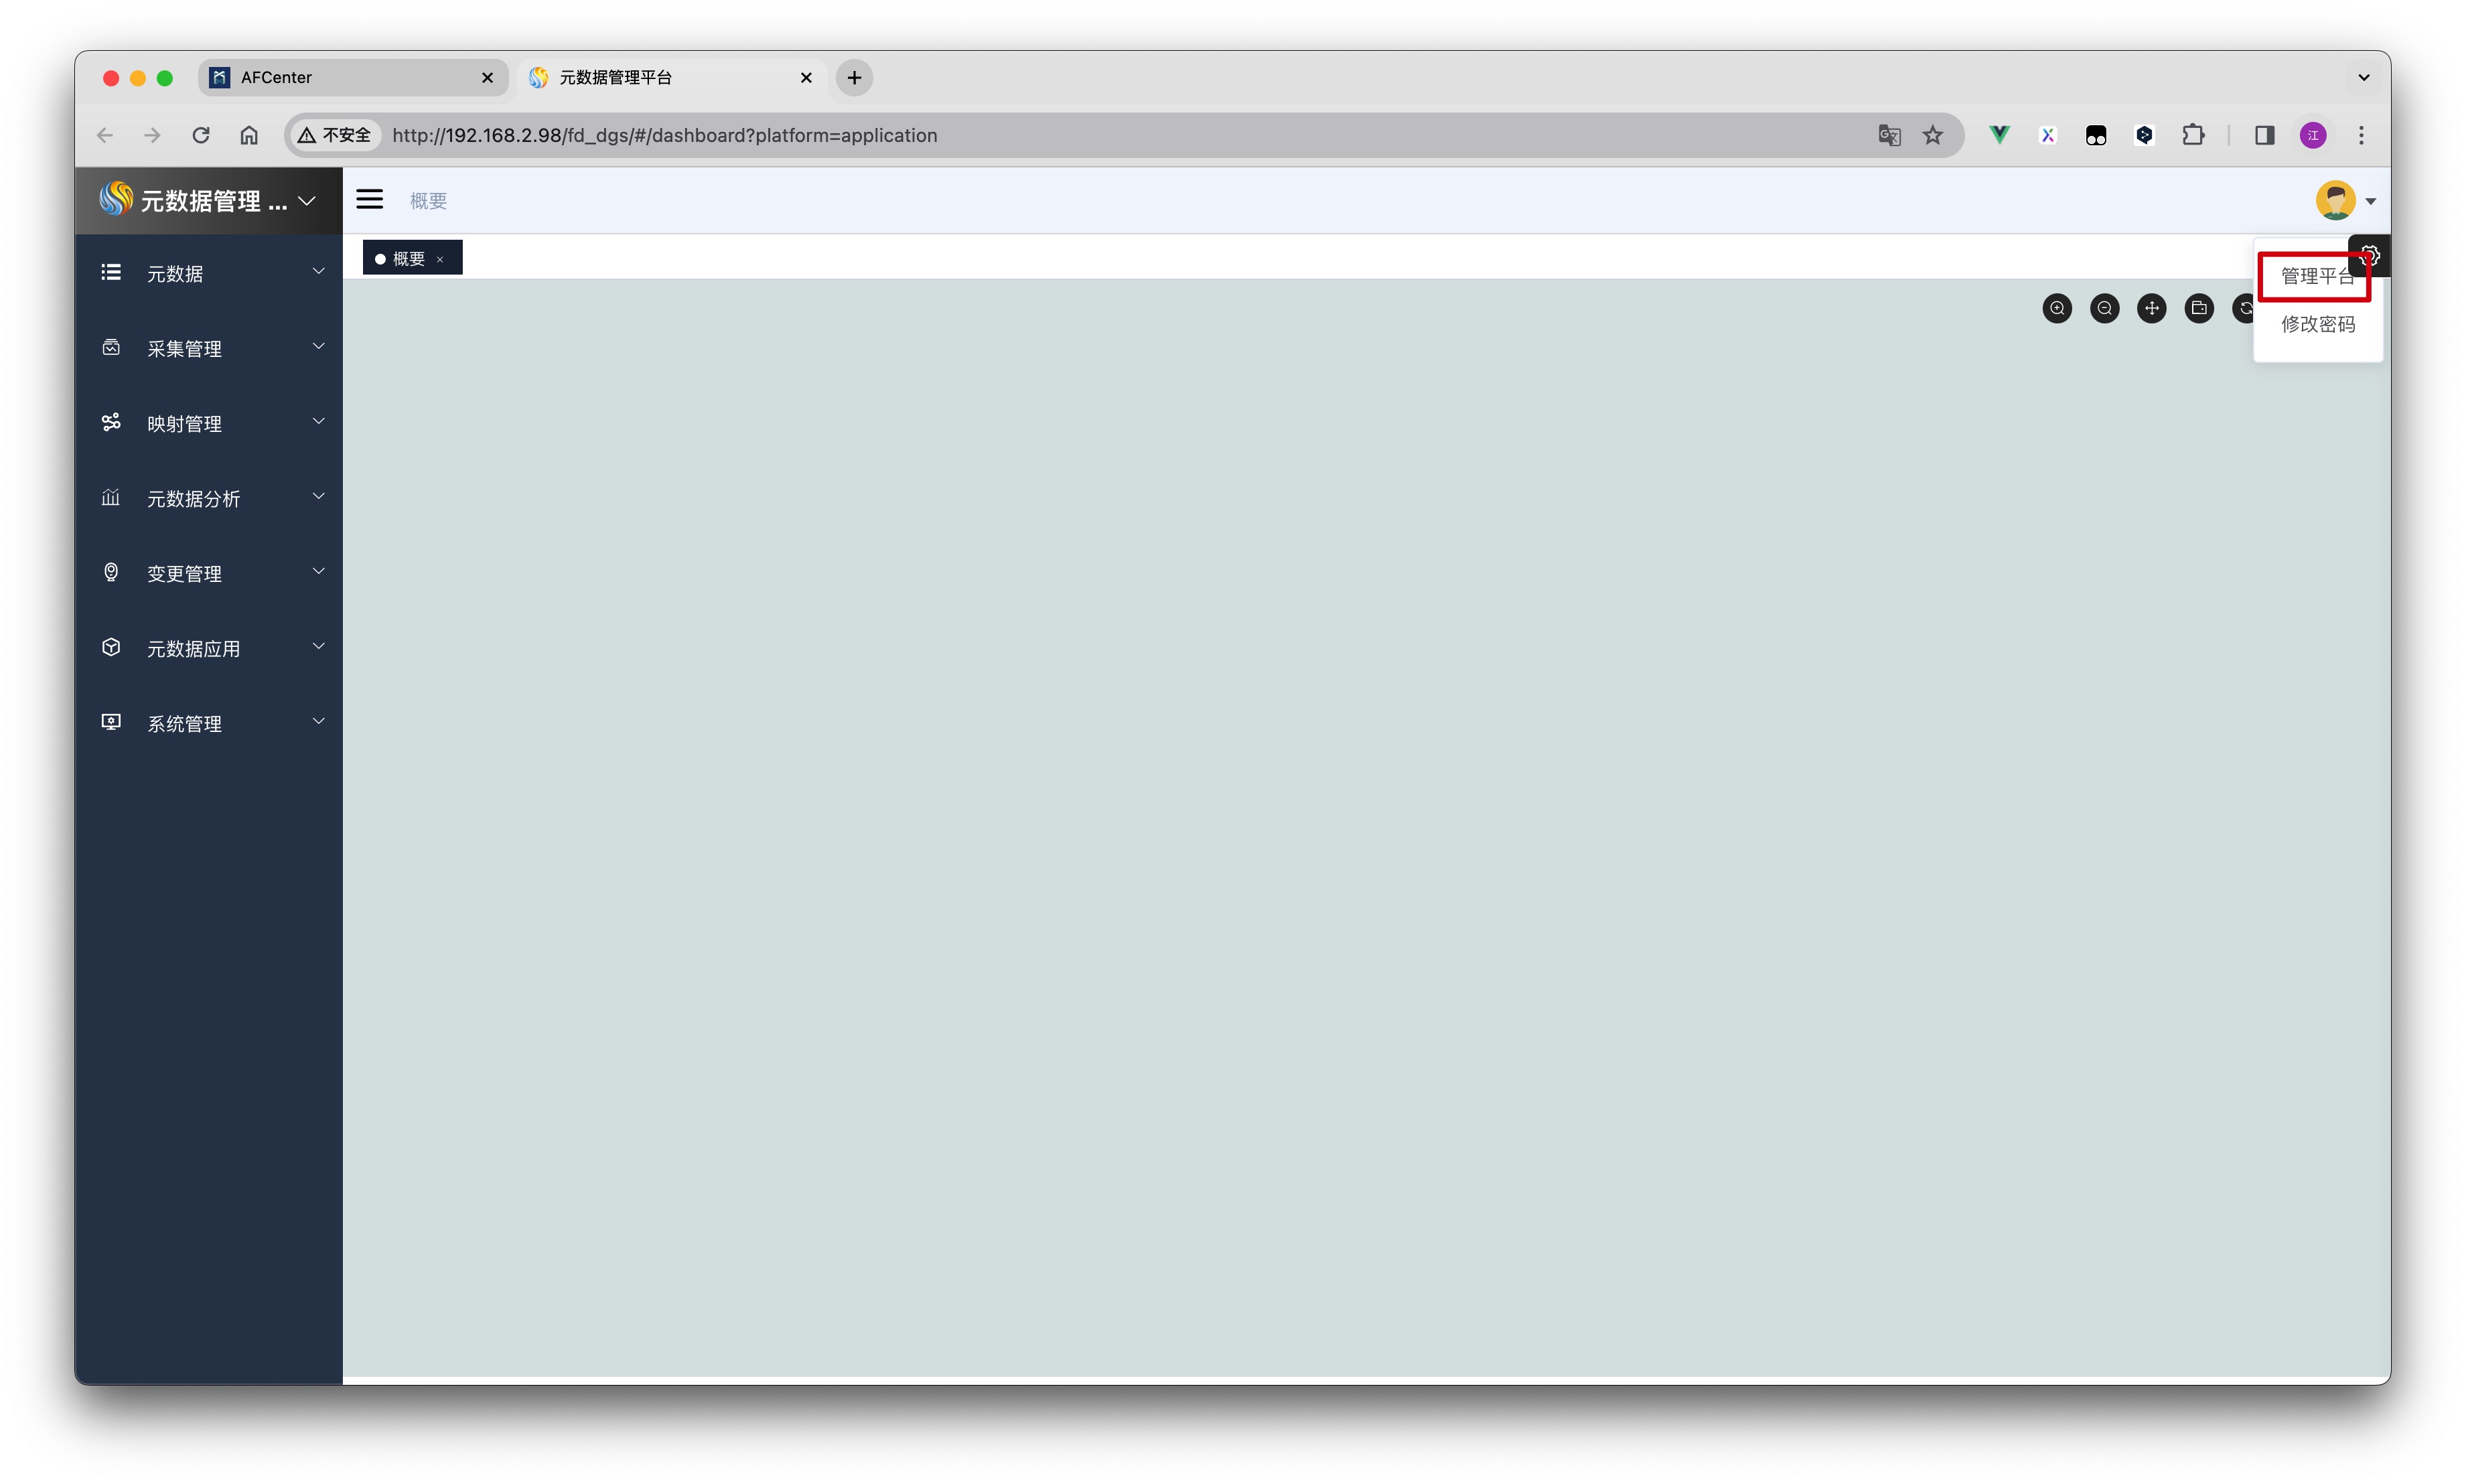
# 3.登录元数据平台,创建 admin/dtadmin 用户
- 打开元数据页面,跳转至管理平台
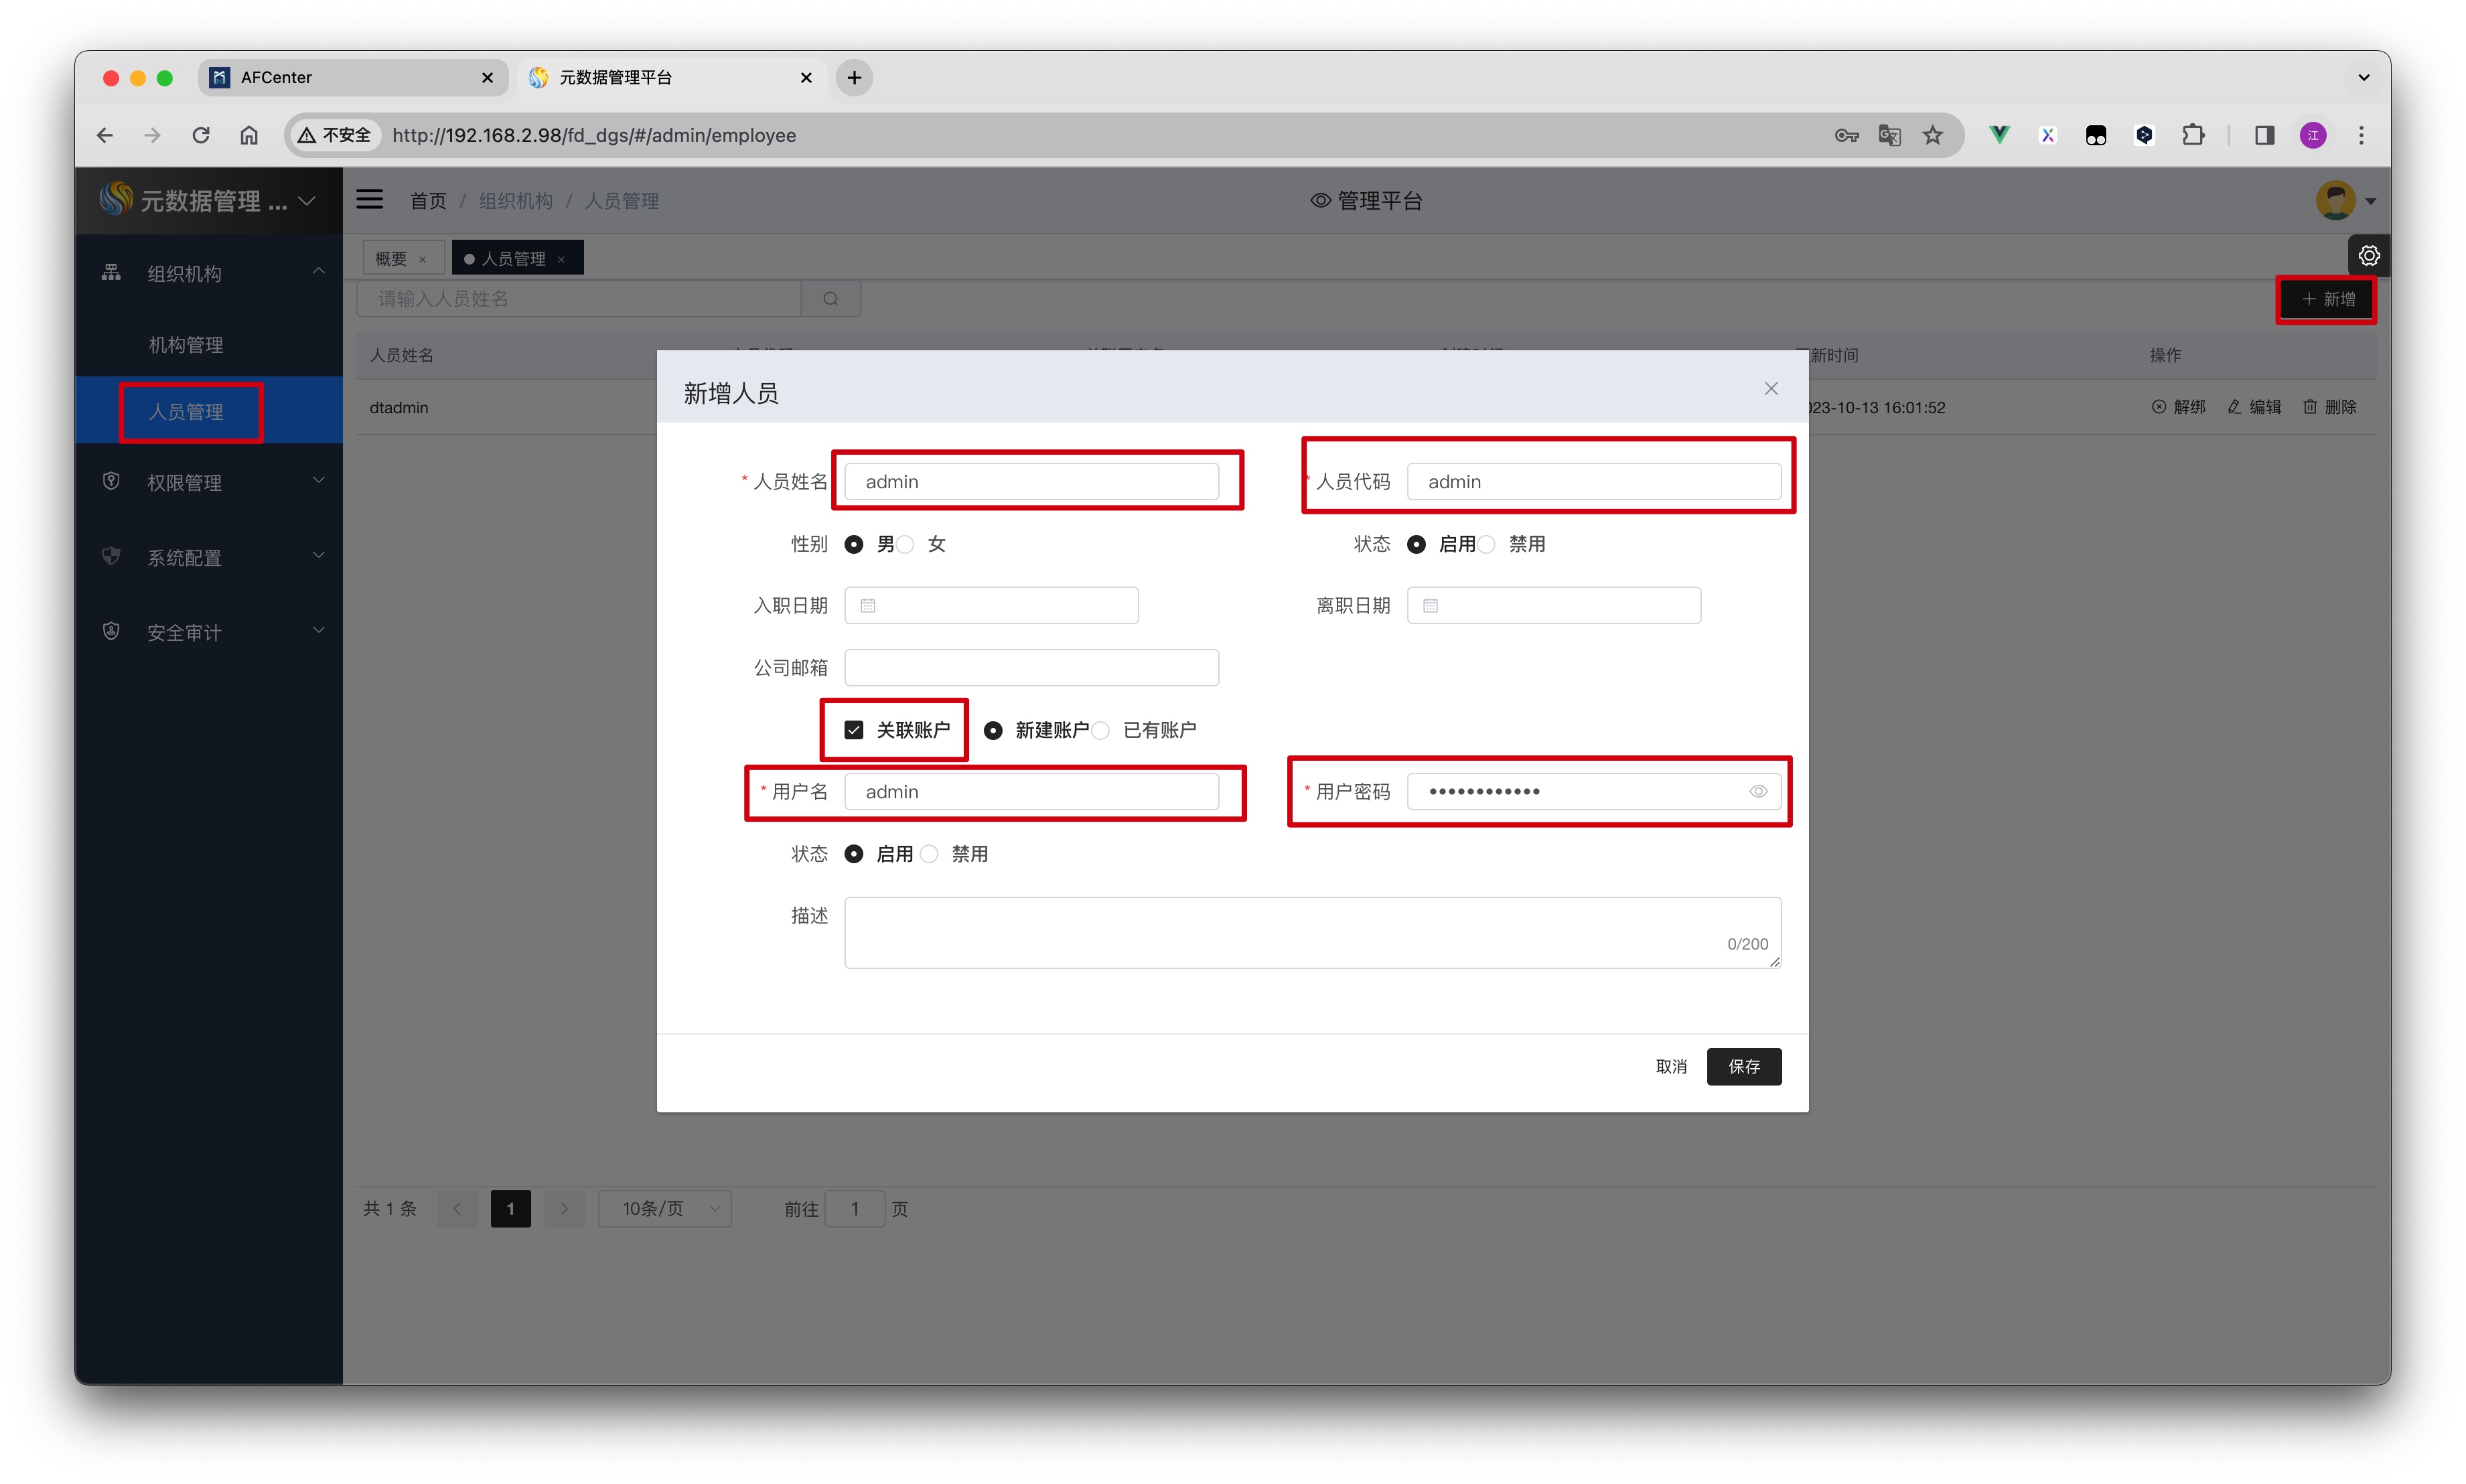
- 打开人员管理页面,新增用户
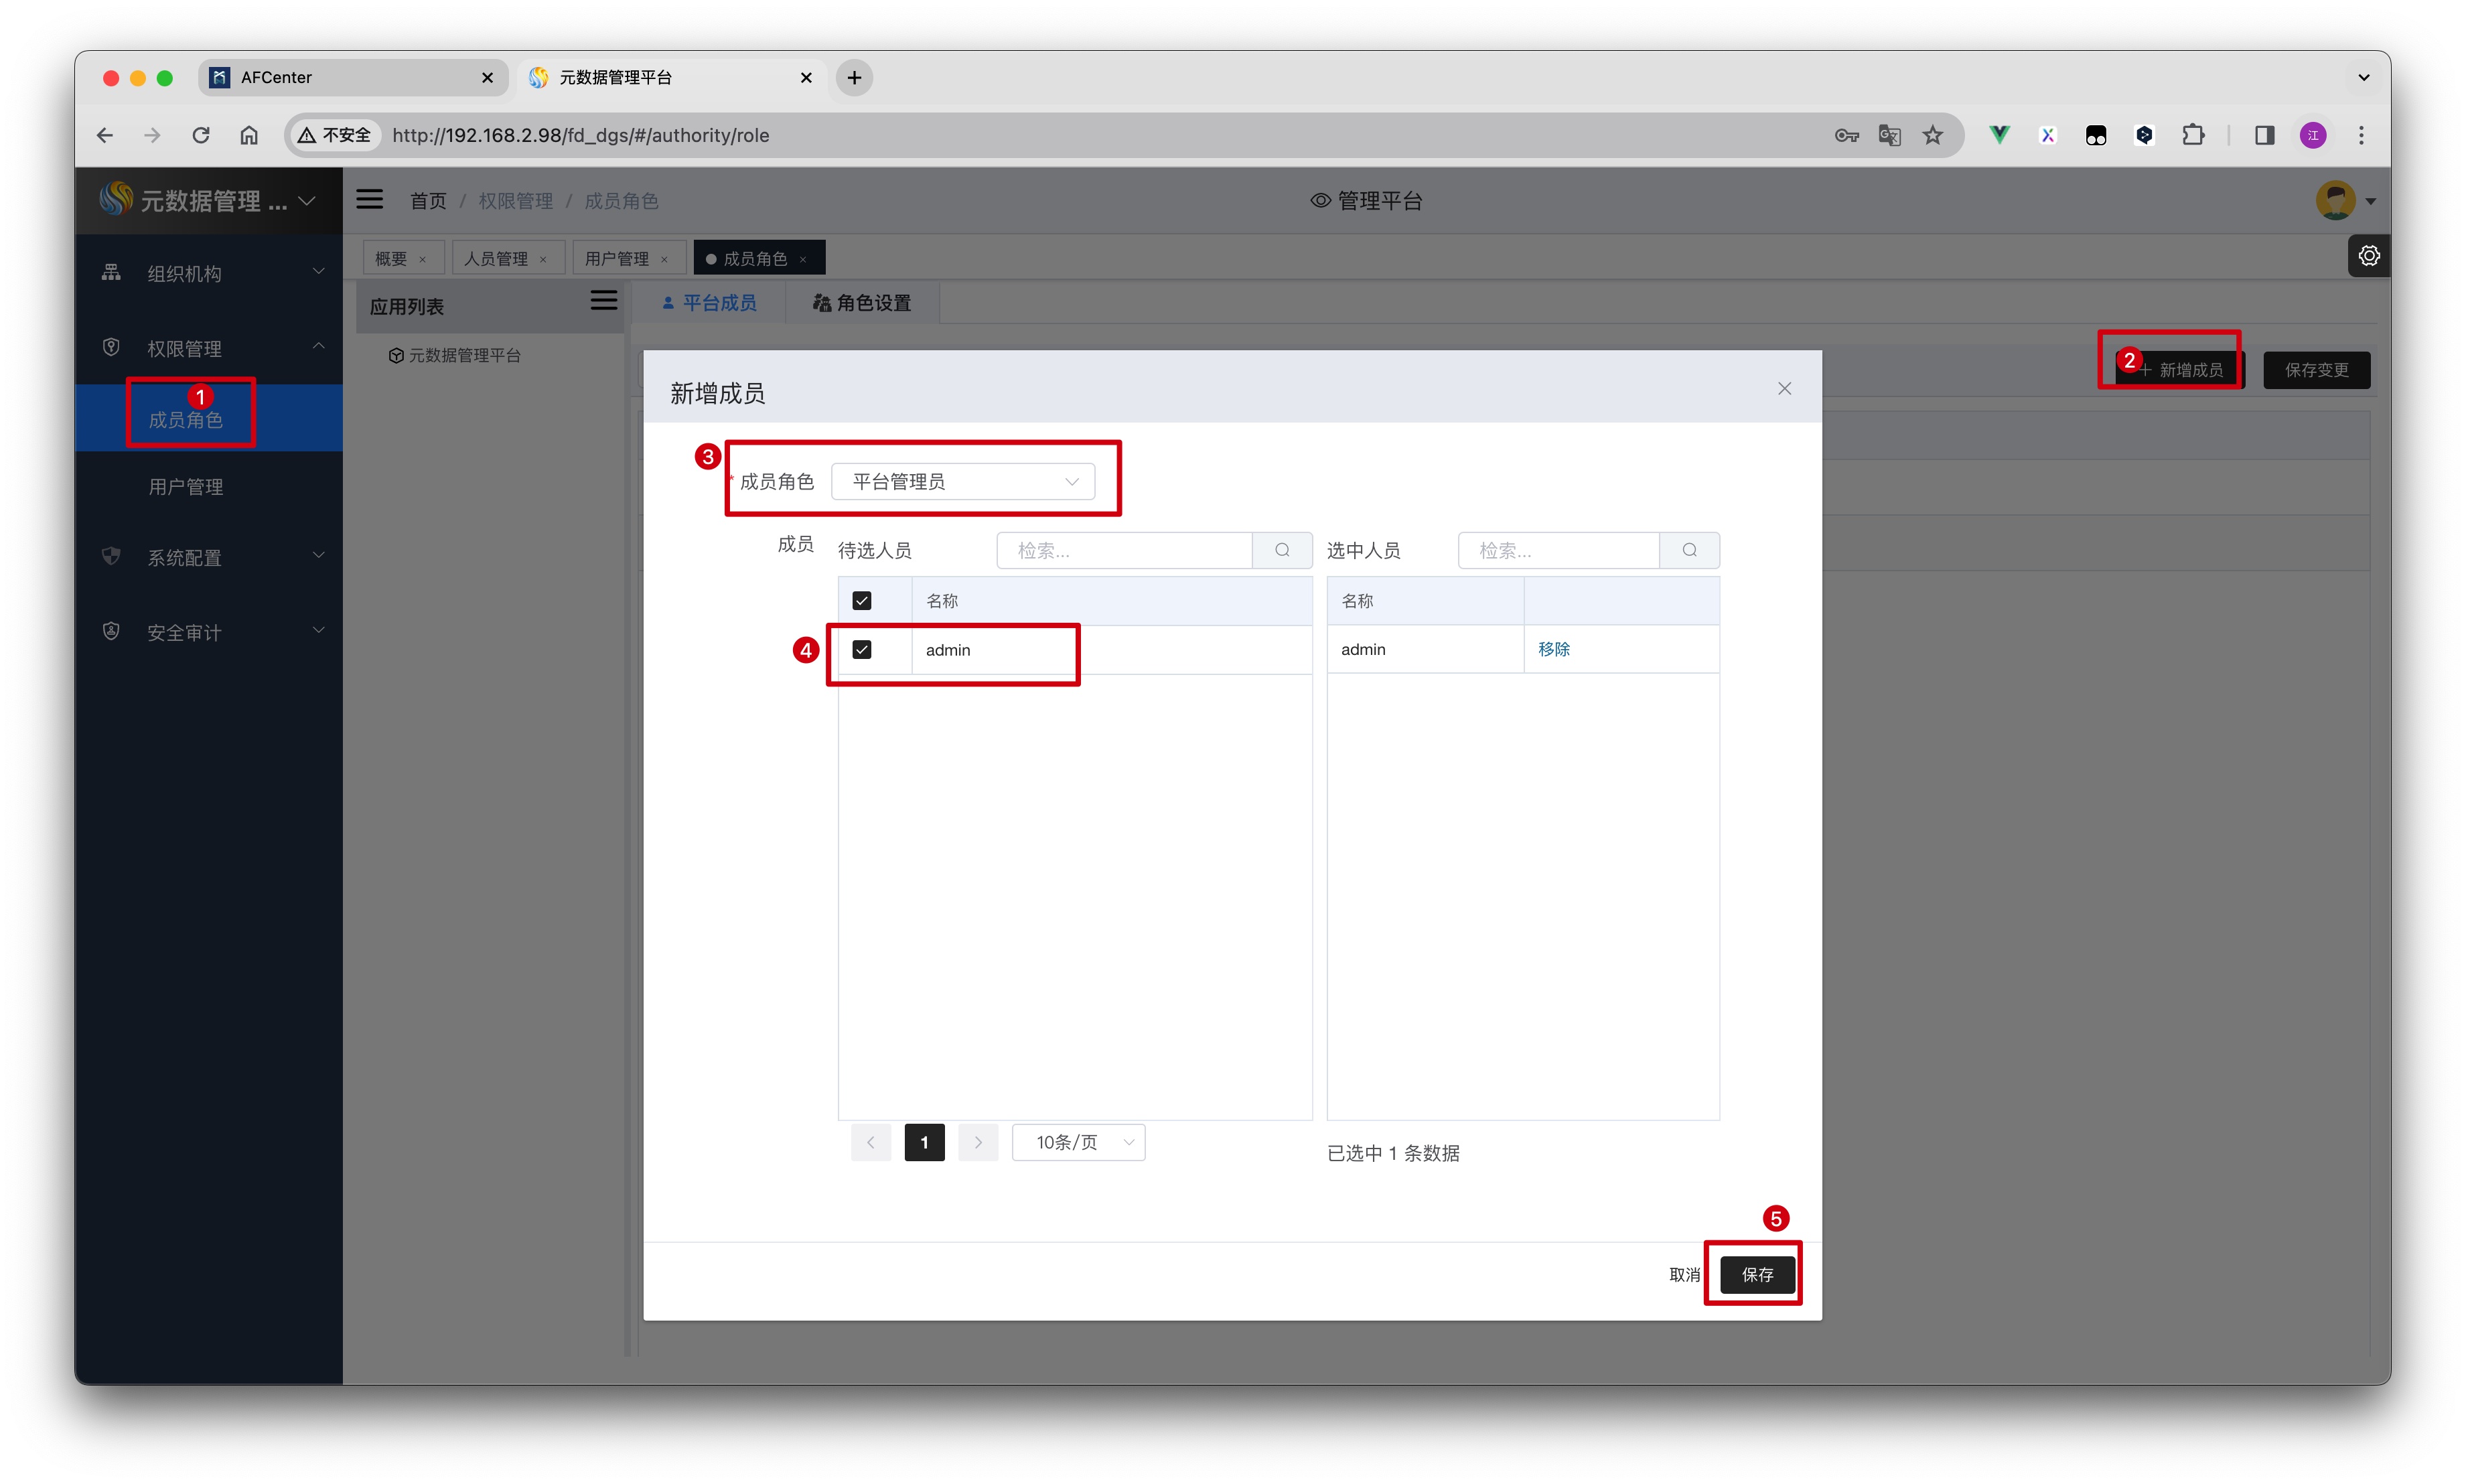
- 打开权限管理页面,添加用户权限
- 如果有别的用户需要跳转元数据,需按照此步骤在元数据中添加用户
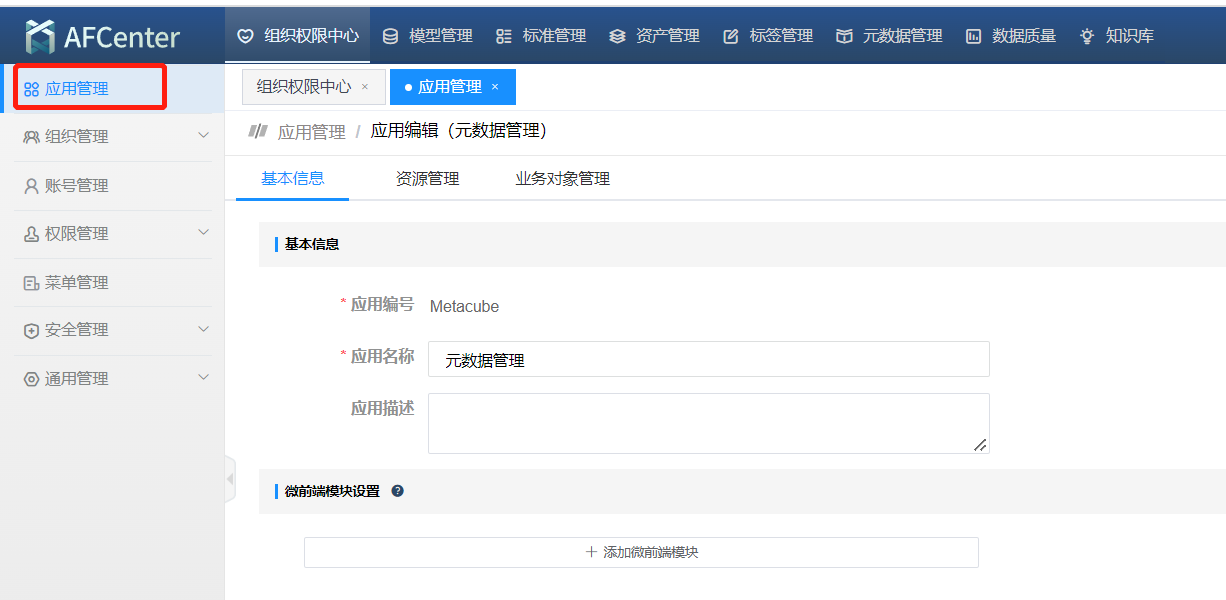
# 4.登录 AFCenter,配置元数据应用菜单
# a) 新增元数据应用
# b) 新增元数据首页,选择 iframe 方式嵌入

# c) 新增元数据管理菜单
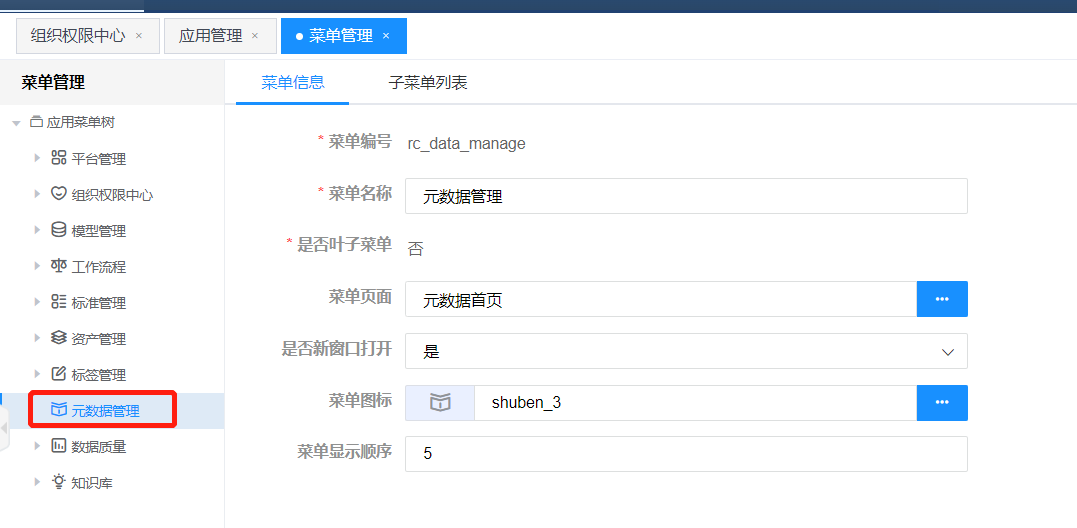
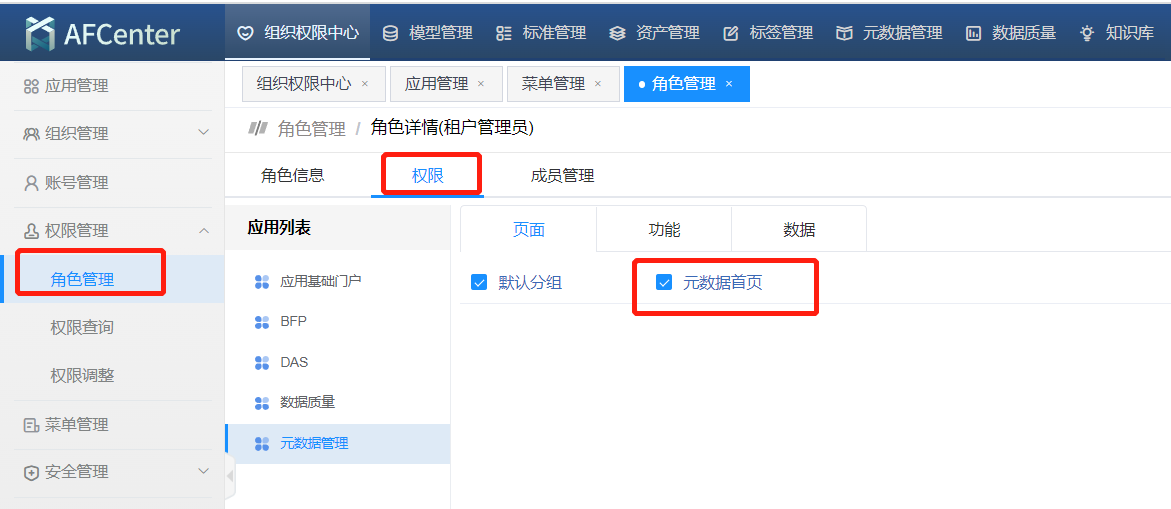
# d) 角色授权访问
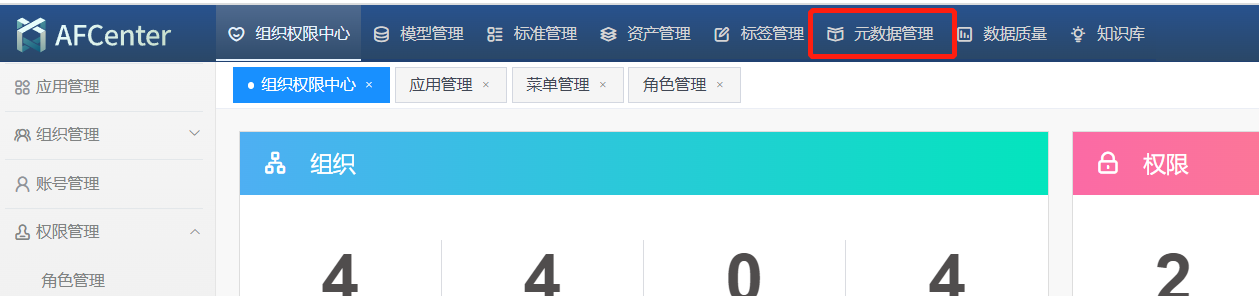
# e) 授权后,点击导航栏<元数据管理>,跳转元数据平台
# f) 跳转失败,可能用户信息不一致,需要保证两个系统,用户信息同步。
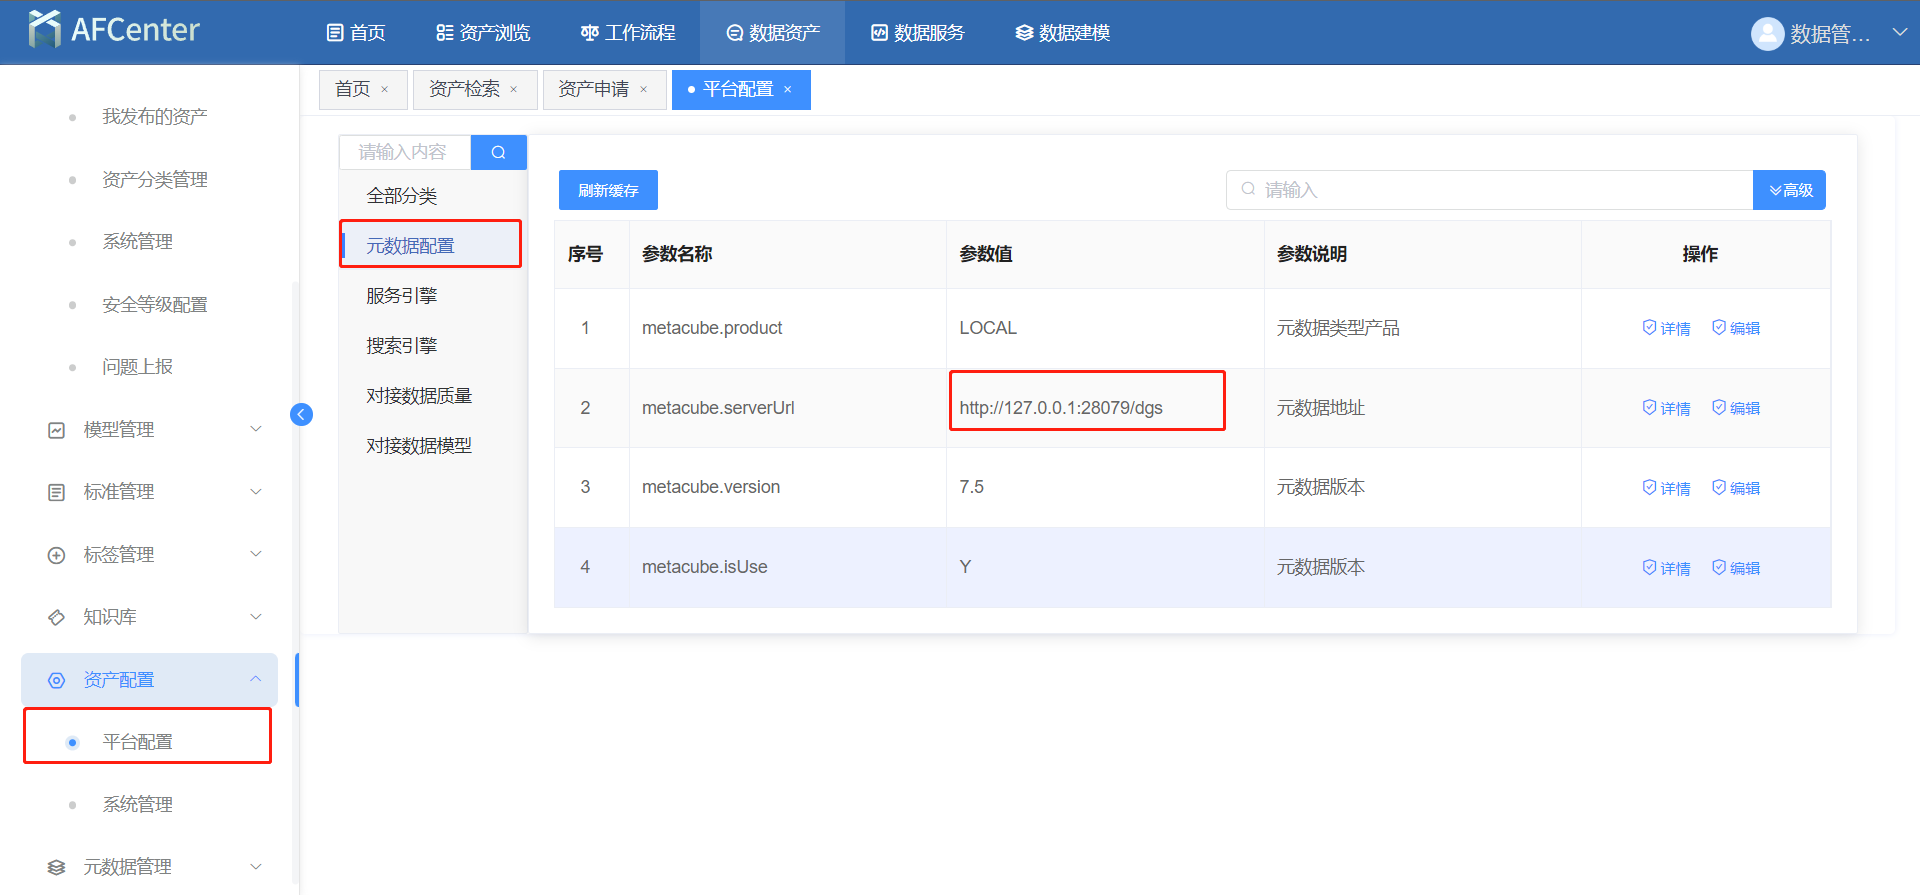
# 5. 修改数据资产元数据集成配置
元数据集成相关配置,主要是修改
PS:如果出现元数据平台登录页面一直提示重新登录请关闭浏览器并打开无痕模式重新登录,或者按照元数据集成 afc 手册进行集成。
← 四、产品密码配置说明 一、浏览器要求 →